|
 Copyright © Brush in PS 7 Copyright © Brush in PS 7
Wondering how you can put your signature and copyright info on your work.. easily? Once you have your Copyright Signature brush, this is a lot slicker than making a separate file and dragging it to your work each time you need to sign your work.
This tutorial will show you how to make a custom brush for other uses as well.
As you work through this tutorial, you will learn or review several things:
- How to use the Type tool.
- How to make a copyright © symbol.
- How to make and use a custom brush.
|
|
| 1.
First we will compose the signature. File
-> New .. and make your canvas 300x300 with a white background.
Make your foreground color black.
2. Plan what you want to say for your signature/copyright notice. I will use
© 2003 Janee with my "Janee" in my own handwriting, the rest typed.
|
This tutorial was written using Version 7, but it will work for Elements 2, too.
If you have version PS v.5.5, CLICK HERE for your tutorial!
|
3. a. Make
a new layer by clicking on the new layer icon at the bottom  of the layers palette. of the layers palette.
If you want your signature to be handwritten, and you are good at writing your own name <g>, choose a brush, set foreground to black, set spacing to 1%, and sign your name in black on your canvas. However, if you want your signature to be larger than you can comfortably sign it, or if writing with a mouse is not your style, you can follow this tutorial to make your signature.
|
|
| If you need your signature, can't write with a mouse, and don't want to learn the pen tool right now, you can still do this! Take a black medium-thick felt-tip, like a Sharpie, and sign your name. Scan this in and use it. |
| 9. Next we'll put in the typed copyright message. Choose the Type tool in the toolbar and choose your font and type size in the options. Click on the canvas and type what you want.
For the copyright symbol, hold the Alt key and type 0169 on your keypad. (the keypad to the right side of your keyboard.. no.. the right side.. farther.. farther.. there.. far right side!). Then release Alt and you will see your ©.
(If you are working on a laptop, your keypad is built into your letters on the right side. To access these, you will need to press the Function key and then NumLock. When you are done with using these keys as numbers, don't forget to turn off NumLock!)
(If you are on a Mac, the key combination is Option-G.)
Use the move tool to rearrange your items, resizing if necessary with Edit -> Free Transform.
|
|
|
© for Laptops or Macs
If you are working on a laptop, your keypad is built into your letters on the right side. To access these, you will need to press the Function key and then NumLock. When you are done with using these keys as numbers, don't forget to turn off NumLock!
If you are on a Mac, the key combination is Option-G.
|
| 10. Next we'll put this signature into a format we can use easily to sign our work. You CAN just save this as it is and then drag it onto a canvas, but that is more bother than you need to have. Instead, make this signature into a custom brush!
Here's how:
- Turn off the visibility eye for the background layer. You want only the typing and your sig to be in the brush.
|
|
- Now you want a selection now of your sig and typing, and there are several ways to get that. I like to do this by Ctrl-clicking the layers in the Layers palette. Ctrl-click the signature layer. Then hold Shift (to add to the selection) and Ctrl-click the type layer.
|
|
|
|
|
| Your new signature brush will be the last one in your palette, where I have the black square to the left, in my brushes palette! |
|
| 11. Try out your new brush! Open a file of some work you have already done, or a new file.
To sign a piece, type B to choose the paintbrush. Choose the Airbrush option in the Options bar. In the toolbox, choose an appropriate color and make a new layer. Use the ] and [ bracket keys to make your brush smaller or larger, if you need to.
|
|
| Touch the airbrush to the canvas till you have the right look. If the signature is too big, since it is on its own layer, you can use Edit -> Free Transform and drag it to the proper dimensions.
|
|
|
12. Since this is on its own layer, you can even use layer effects on the signature, such as drop shadows or bevels. Here, I've used an emboss and drop shadow.
I hope you find this to be a convenient time-saver, as I have!
For another tutorial on custom brush tricks in PS 7, see this one:
 Text Tricks with Custom Brushes Text Tricks with Custom Brushes
in PS 7
|
|
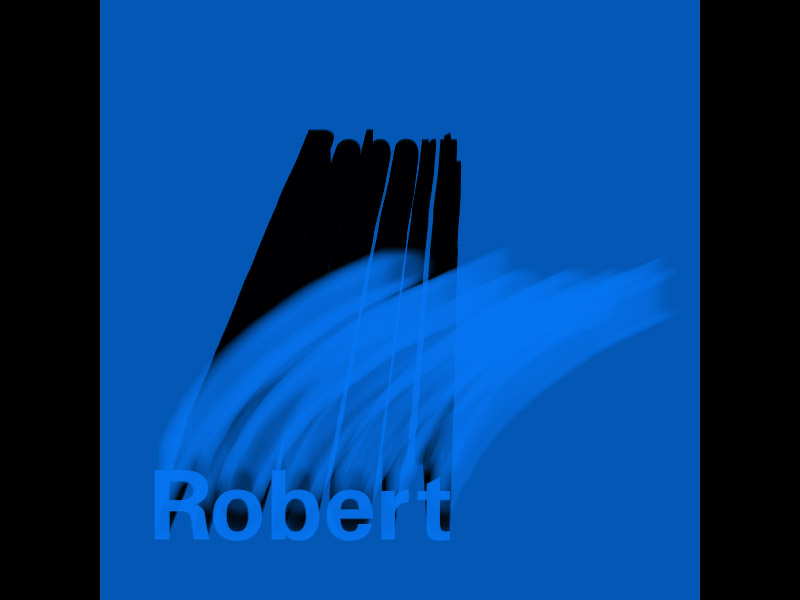
I did these by making a custom brush of the name first:
|