A Stitch in Time A Stitch in Time
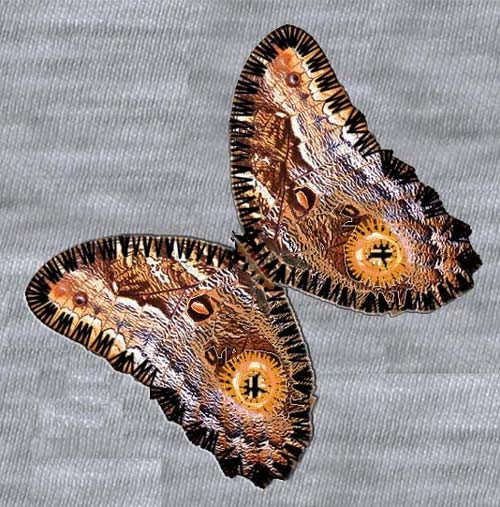
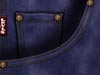
Why would you want to stitch a path? You could make a design so that it appears to be embroidered on a pair of jeans or a jacket. You could also "embroider" a dresser scarf or a quilt. Whatever your goals, this is a neat technique which might open some other creative possibilities to you, too.
|

jjj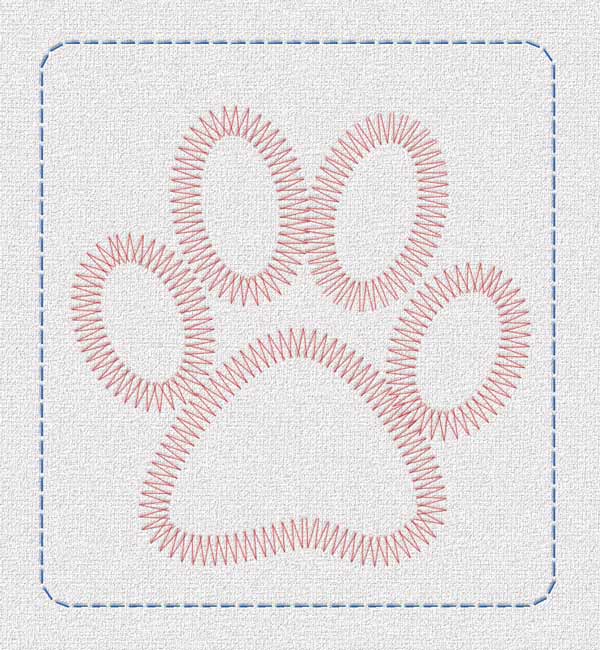
This tutorial in Russian
|
| This tutorial uses some of the cool brush attributes from PS 7. If you don't have version 7, read this and it might just make you want to upgrade!
In this tutorial, we will learn/practice several valuable skills. Here are some of them:
|
Brushes
- Making a custom brush
- Setting attributes for a brush
- Saving a brush
- Working with Brush Libraries
- Saving a brush library
Paths
- Using the Pen tool to make a path
- Making a path from a custom shape
- Stroking a path
|
|
Making the Custom Brush.
We begin this project by making the custom brush with which to form the "zigzag" stitch. If you know how to do this part, go on and do it and then i'll meet you down in the next part.
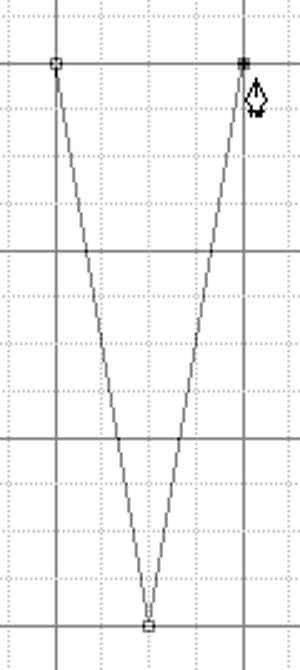
1. If you want your stitch to be a nice even V, you can either use a crisp sanserif font V or you can draw one, using a grid. I chose to draw it. Since I want it to be fairly precise, I am going to begin with a path and then stroke it with a plain brush.
- Choose the Pen tool (not freeform.. just the plain ol' pen, and click it 3 times, once for each corner of the V. This makes the PATH.
|
 |
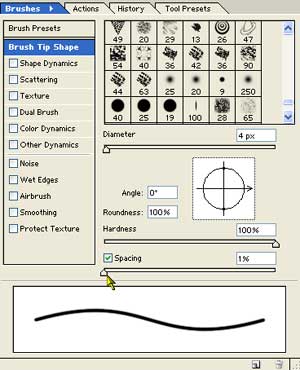
- Choose a small hard brush, like the 4 pixel round one that I chose.
- Make your spacing 1%, so that the brush strokes don't have gaps between the dots. To do this, go to the Brushes palette, click on Brush Tip Shape, and adjust the spacing slider. Turn off any checkmarks for any others of these brush attributes.
- Ctrl-Alt-Shift-N to make a new layer.
|
 |
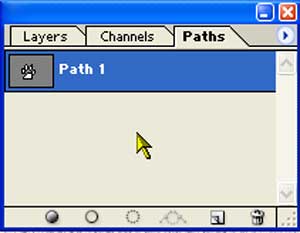
- Now, stroke the path. Click the Paths tab and then, at the bottom, click the Stroke Path button.
(If this doesn't stroke it with your chosen brush, make sure that the last tool you clicked was the brush.) (If these tools are grayed out at the bottom of the Paths palette, choose the black arrow from the toolbox, the Path Selection Tool. Tap it on your path. Now stroke it.)
- Click outside the path in the empty part of the paths palette to turn off the path.
|
 |
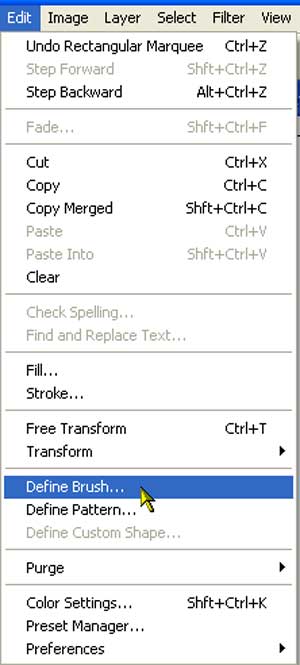
2. Ok.. you just made the sample for the brush. To tell PS that you want this to be a brush, you need to define it.
- You want just this stroke to be the brush and you don't want any background in there, so turn off the visibility eye for anything that is in the background.
- Make a rectangular marquee (or any selection) around the brush stroke you made.
Now, make a new layer and try your brush. Ewwww! This doesn't look like stitching! What's wrong?
|
 |
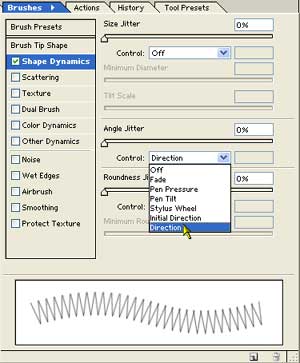
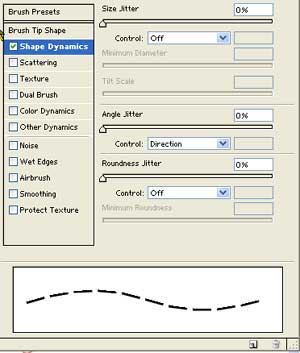
| 3. In order to make this look like stitching, you have to fix two things in the Brushes palette.
First, click on Brush Tip Shape on the 2nd line down from the top. Make the spacing just about 100% so that the ends of the V's are just touching each other.
Next, you want to make the zigzag follow your curve. In order to do this -- (see screenshot to the right) -- in the Shape Dynamics, you need to choose Direction in the Control dropdown for Angle Jitter.
|
 |
|
To see the parameters for the Shape Dynamics , as i have in my screenshot to the right, click the LABEL "Shape Dynamics," not just the check box. Be sure that the Control for Size Jitter is Off, unless you want pen pressure to determine the size of your "stitches."
|
|
4. Once you get this brush just as you like it, you can add it to your brush library so that its options will be as they are. Here's how:
- Get your brush as you want it.
- Click the arrow for the dropdown just to the right of the brush sample in the Brush Options bar. This will give you the current brush library.
- Change the library if you like, by clicking the flyout arrow at the top right on this box.
- To add your new brush to the current library, click the Create a New Brush Preset icon. (See right.)
|
|
| 5. You have to SAVE the library though, in order for this brush to remain there.
To do this, click the flyout arrow (see right) and choose Save Brushes. It will give you the option of changing the file name for this current brush collection if you like.
|
|
|
| Making the Paw-Print Path
Ok, now you can stitch around on your canvas to try this out. Unless you have a much steadier hand than mine, though, you still will have a bit of a shaky line of stitching, unless you move your mouse/pen fast.
There is a way around this, though. Make a path and then use the stitching brush to stroke this path!
6. For this zigzag paw print, i used one of PS's default Custom Shapes.
- Begin by choosing the Custom Shape Tool. This tool sometimes seems (to me) hidden under things like the rectangle tool or the line tool. It doesn't always jump out at me!
|
 |
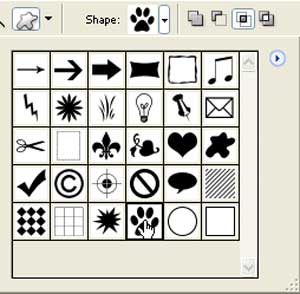
- In the Custom Shape Tool Options, click the dropdown arrow by Shape.
- If you don't see what you want there, click the flyout arrow to the top right on that dropdown and you will see more libraries of shapes. I chose the paw. :)
|
 |
| 7. Next, in the Options bar, over toward the left, click the middle choice there.
The Shape tool enables you to either make
- a filled shape with path,
- just a path or
- a filled region with no path.
For this project, we want to stroke the path, but we don't want it filled. Therefore, choose the 2nd button, just the path. :)
|
 |
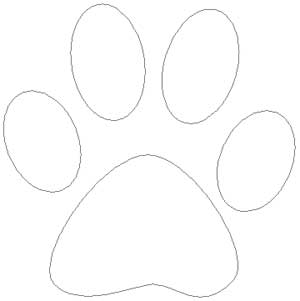
| 8. Drag out the path on the canvas. If you hold Shift, what happens? What if you hold alt after you start to drag? (For the answers to these... TRY them! Then hover over the paw to the right, if you want to "hear" me say it.)
This is not yet a real object. This is a path, just a representation of this vector object. If you tried to save this and then look at it in another program, you wouldn't see anything, because this isn't anything yet. It is rather like an architect's drawing of a new hospital wing. You can't walk around in it yet, because it is still just a concept!
|
 |
| Sroking the Path
9. So in order to make this idea a reality, we need to convert this path to PIXELS.
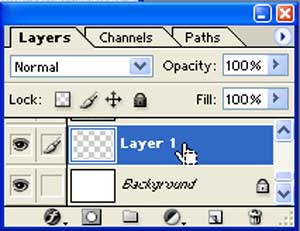
- For pixels, we need to make a layer, so click the Create a New Layer icon at the bottom of the Layers palette.
- Choose a color in your foreground color picker.
- And then click the brush tool where your proper V brush should be waiting.
|
 |
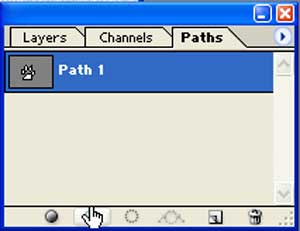
- Now click the Paths tab, to bring up the Paths palette.
- Be sure that the path is chosen in the palette.
- Then, down at the bottom, click the Stroke Path icon, the one that my finger is covering, in the screenshot to the right.
|
 |
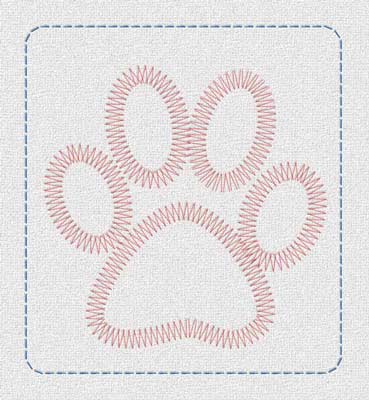
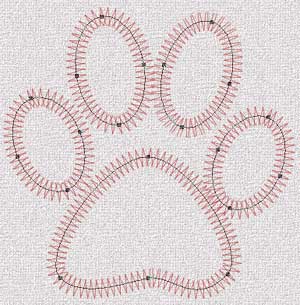
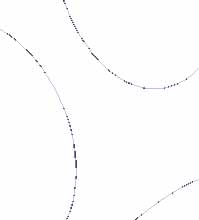
| Here's what your picture might look like at this point. (I have selected this path (with the black arrow) in order to make it a bit clearer. Yours may not have the black dots on it.) |
 |
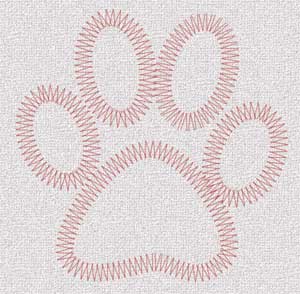
| To clear the path out of the way, click in the empty space below the path in the paths palette.
|
 |
| Making the Straight-Stitch Border
10. Next let's make the stitched frame using a straight stitch. Make the "dash" brush for this:
- Zoom in to 1600% or ... very closely.
- Using the rectangular marquee, make a rectangular selection that is not very long and just a couple of pixels high, as i did to the right. This is magnified 1600%.
|
 |
- Fill this with black, turn off visibility for the background.
- Define this as a brush as you did above for the V.
- Next, set the options, the same as you did for the zigzag. For this one, though, under Brush Tip Shape, you may want the stitching to be spaced more widely apart.
- Again, choose Direction under Shape Dynamices -> Angle Jitter .. Control.
|
 |
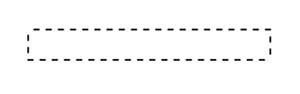
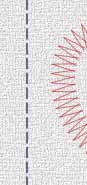
- Next, using the Rounded Rectangle Shape tool, make a border like this one: Again... a shape. Not pixels. In order to have pixels, what do we need?
- Get all of these set.
|
 |
- Back in the Paths palette now, choose the rounded rectangle layer. Click Stroke Path. Click away from the path in the palette to make the path go away. (You will have to do this, in order to see this stitching.)
|
 |
| Tip: If you are ever stroking a path and you end up with a nappy jaggy line instead of a nice smooth brushstroke ... |
 |
... you probably didn't have your brush chosen in the toolbar.
You have to have clicked the brush last, right before you stroke the path.
|
|
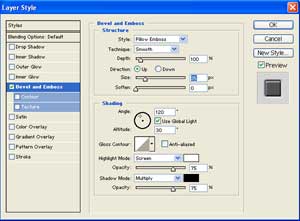
| 11. You can finish off this "stitched" effect, with a Layer Style. You get this dialog box by clicking the little f at the bottom of the Layers palette. For this, I like just a bit of Pillow Emboss.
I hope you enjoyed this tutorial!

|
|
Student Work:
DO click these!
|
|
|
Do you want to make a custom path of your own? Here's more on the use of the pentools to make a path:
 Heart 1 Heart 1
 Rain Rain
 Impressionist Heart Impressionist Heart
|
For more info on the brushes of PS 7, see these:
 PS Painting 1, Brushes in PS 7 PS Painting 1, Brushes in PS 7
 A Red Rubber Ball A Red Rubber Ball
Impressionist Heart
 Flowers Along a Path Flowers Along a Path
|