|
 Burned Edges Tutorial Burned Edges Tutorial
In this part of the tutorial, we will make a border on the picture giving the picture a faded-in montage effect. For the first example, we left the picture edge itself crisp and mounted a mat on it. For the third example, we will leave the picture unmounted and just burn its edge.
Depending on which edge you do, you will learn/practice all or some of the following skills:
- Using a layer mask
- Making selections
- Stroking selections
- Painting by hand
|
|
|
|
| A. Montage Edge
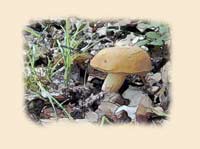
For the first example, I will do kind of an after-the-rain montage effect. First, I am going to put a mat on this picture, feather the edge of the picture onto the mat, and then "burn" the mat.
For this border, we are going to do this with a second layer. We'll put this layer under the picture layer, and then "trim" the picture to give it that soft edge. We will trim this, though, using a Layer Mask to hide its edge.
1. File > Open and choose the file with your picture. In the layers palette, double-click the picture layer so that it changes from "background" to a regular layer. Now double-click the words "Layer 0" and type in "Picture."
|
 |
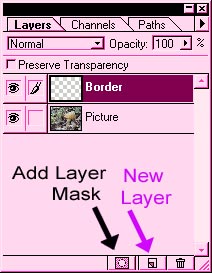
| 2. Click the new layer icon in the layers
palette (see at right) to make a new layer. Label this
"Border". |
 |
| 3. The picture takes up the whole canvas though, and we want the border to show around the edge. There are a couple of ways to do this, either by enlarging the canvas (Image > Canvas size), or by shrinking the picture. I'm going to shrink the picture.
Click the Picture layer in the Layers palette to make it active and then Edit > Free Transform.
Grab a corner handle of the bounding box and hold the Shift key down while you drag the corner toward the center of the picture, to make it smaller. Holding "Shift" keeps the proportions the same. If you hold the Alt key, too, you will size the picture in, with equal space around the border!
Press "Enter" to apply the transformation.
|
 |
| 4. Choose a light ivory shade
for your border. I picked 248, 234, 211. (In the tools palette, click the top
color square. Type these numbers in for R G, and B.)
In the Layers palette, click the Border layer to select it, drag it down so that it is below the Picture layer, and then alt-backspace to fill the layer with ivory.
|
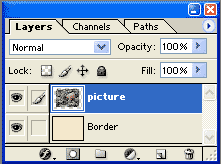 |
| 5. Click the Picture layer to select it again and then click the layer mask icon to make a layer mask for this layer. Your Layers palette should look like mine to the right. |
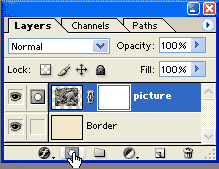 |
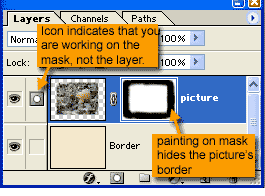
| 6. Now this part is cool. You are going to paint the frame around the picture using the layer mask.
|
 |
Click the white mask beside your picture in the layers palette. Choose a large soft brush to draw in black around the outside of the picture. (You will be drawing on the main window, not in the tiny layer palette picture.)
|
 |
| 7. Make sure that you cover
all of the straight parts of the border of your picture. Make the border
kind of feathery. |
 |
|
8. Now we will do our nice jaggedy burned edge! Begin by clicking the border layer in the layer palette to make it active.
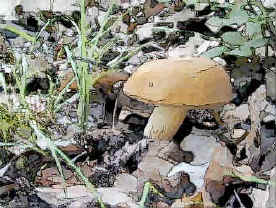
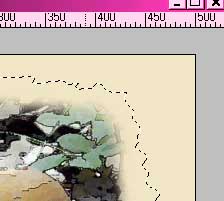
Use your lasso and a very shaky hand to draw an irregular border around the outside of the border layer as i have done to the right.
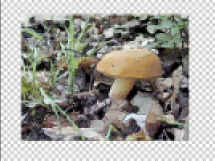
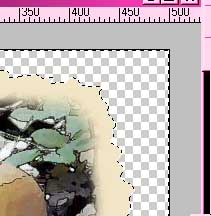
Then Select > Inverse and hit the delete key to clear away any ivory that is around the outside of the border so that around the edge is just checkered.
|
 |
| 9. Select > inverse again to select the part of the border layer that is ivory. Now you are going to put the light brown burned looking edge there. Choose a light brown orangey shade. I used 221, 183, 133. (See step 4 for for what this means.) Edit > Stroke. I used a 10-pixel wide stroke and ticked "center" in the box. Ctrl-D to Deselect.
10. But it is still too .. clean looking. Let's blur it up a bit. On the border layer, Filter > blur > Gaussian blur. I used a setting of 2.4. Your setting will vary depending upon the size of your pic and your resolution.
|
 |
| 11. Draw around the outside
edge with black. Again, don't worry about having a steady hand. The
unsteadier the better, really.
12. The inner edge of the black needs to be blurred for realism, while the outer border needs to be crisp and distinct. Do the blurring first. Filter > blur > Gaussian blur to about 3. The brown rim will blur a bit more but that is fine. it will just make it better.
|


|
| 13. Use your lasso tool to draw a jagged border around inside the black. Don't go outside the lines! Select > inverse > and hit the Delete key. This trims your black border with a nice hard edge. Ctrl-D to Deselect. |
 |
|
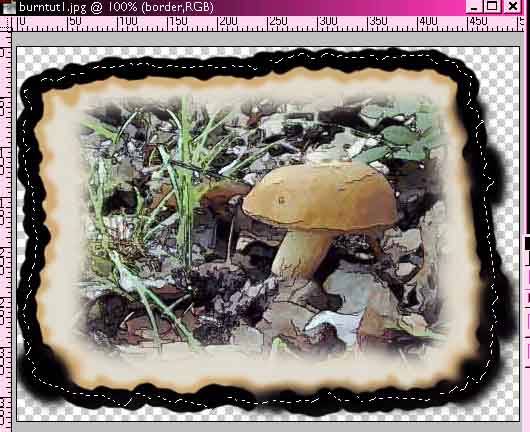
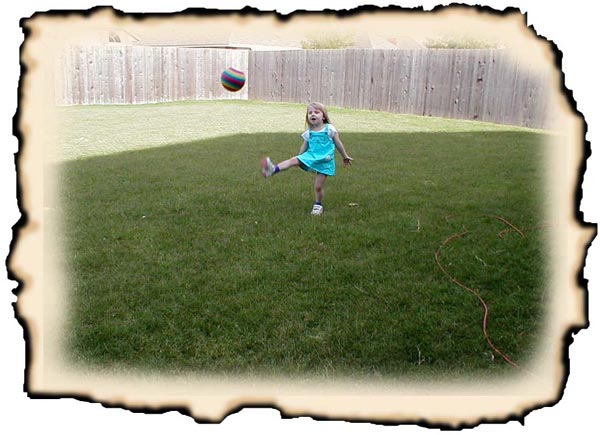
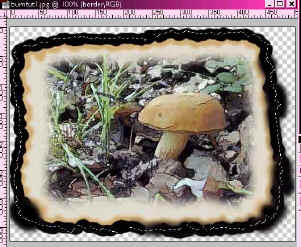
All done!
|
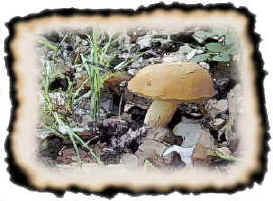 |
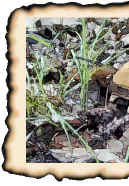
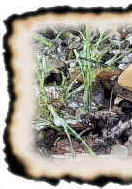
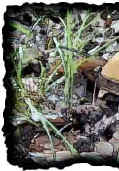
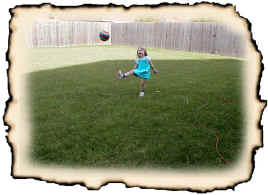
| Student work:
|
|
|
Other Edge Options: |
|
|
|
|