Seeing
Stars
Seeing
Stars
As you work through this tutorial, you will be learning some nifty things about Photoshop. With the method that i'm going to be using, you will also do a wee bit of geometry too. Oh, quit making that face! This is going to be fun!
Here are our Photoshop goals:
- Learn to drag one file over to another one.
- Use guidelines.
- Use the pen tool to make a path.
- Adjust a path.
- Stroke a path.
- Fill a path.
- Use transformations
|

I'm using Photoshop 5.5 for this tutorial. Things will work pretty much the same with later versions, though if you have problems with something serious, I will want to know about it.
If you see something in PURPLE, that means that i have a link from that term or step back to my "Wait! Start from the Beginning!" page where you will get a step-by-step explanation for that procedure or term.
|
| 1. We are going to use the
protractor that you can find by clicking THIS
LINK. Opposite click it, choose Save As... and pick a location and
filename for it. Remember where you put it. <g> Do I know you or
what?
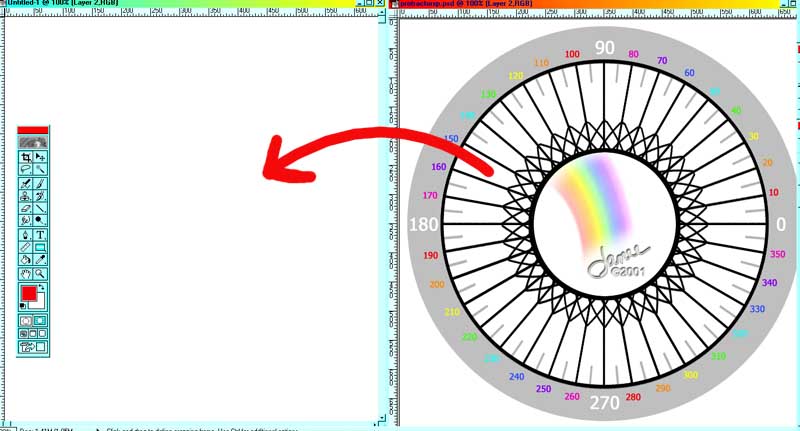
2. Open Photoshop and File -> Open ... and find your protractor. Image > Mode > RGB.
3. File -> New .. and make your new file 800x800 or whatever size you want.
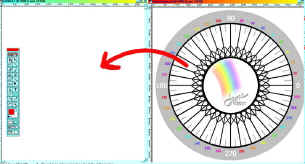
4. With your files side-by-side in Photoshop, choose your move tool from your toolbar and drag your protractor over to your new file.
|
 |
| 5. Close the
protractor file. Now save your new file. Click File -> Save As .. and
choose a name for your file. Leave it in psd format.
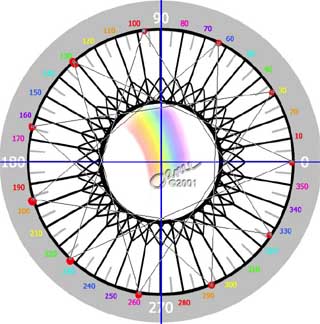
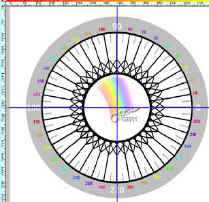
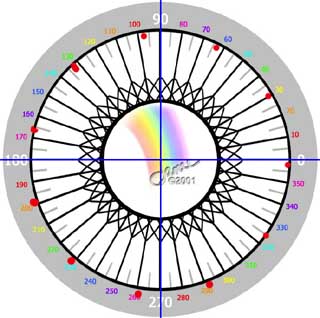
6. With your move tool still selected, reach up into the rulers and drag from there onto your canvas and you will make guidelines. Drag these to the center of the protractor as i have done to the right. They should go through the 90, 270, 0, and 180. Notice that the center of the protractor is the top of the J. She thinks of everything. ;)
|
 |
| 7. You are going to figure out
now how far apart to stake your points for your star and that depends
upon how many points you want it to have. Whatever number it is, divide
that into 360, since there are 360 degrees in the circle. For this star,
use an odd number of points because it is cooler. I'm using 11.
360 / 11 = 32.7 (about)
That is how many degrees i need to stake out for each point around my protractor.
8. Make a new layer by clicking the new layer icon at the bottom of the layers palette.
9. With a bright color, paint dots around on the black circle of the protractor that are the proper distance apart, in my case, about 33 degrees.
Ctrl-s to save.
|
 |
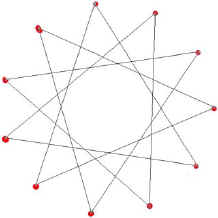
| 10. Now
you are going to make the star's points. Choose your Pen tool, not the
freeform pen.. just the plain old PEN.
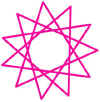
Starting at one of the dots on the circle, tap your pen to make an anchor point. Then skip a number of dots (I chose 4) and go around the circle, touching your pen to the red dots and skipping the same number each time. Keep going till you get back around to the beginning. You will eventually and your picture will look something like mine below.
Ctrl-s to save.
To the left below is the path shown with the protractor layer and with the guidelines.
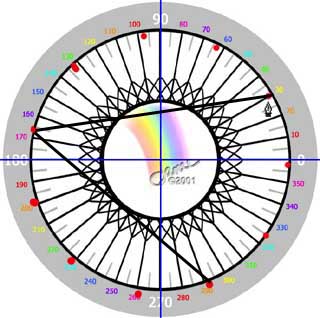
Turn off the protractor layer (click its eye) and clear the guides (Click View -> Hide guides). You don't need either of these anymore.
|
 |
|
|
| This is still a
PATH, so you are free to do any of the things that you do to paths, such as
moving its anchor points, making the segments into curves, stroking, or
filling the area defined by them.
11. Chances are good that you did not get all of your points exactly even; maybe one missed the dot a bit or you miscalculated an angle. Choose your Direct Selection Tool, under the pen tool and use it to drag the anchor points where you want them. If you click away from an anchor point, you can even drag a whole segment! (Try it!)
|
If you are new to the pen tool, try this: Choose the Convert Point tool, the plain little V arrow under the pen, and hold it on an anchor point and drag. This is how you make curves! When you are done playing, you can just tap this tool on the anchor points again to convert them back to corner points.

|
|
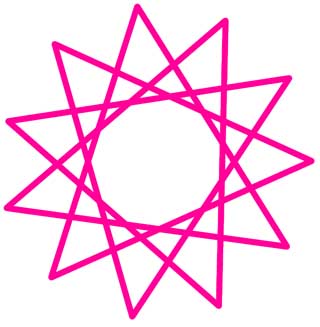
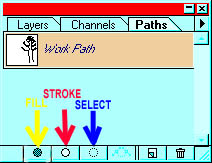
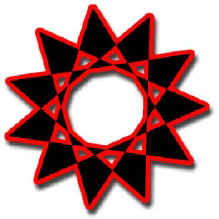
12. Stroke your star. Make a new layer by clicking the new layer icon at the bottom of the layers palette. Choose a brush, a brush type, and a color. Then click the "Stroke" icon in the paths palette. (See the red arrow at right.) If your computer has a slow enough processor, you can watch the brush paint the star. :) Call it finished at this point, or have some more fun with it.
|
|
Here are some ideas:
- You might want to try adding some layer effects. Depending on what you are doing, you may want a bevel or a drop shadow.
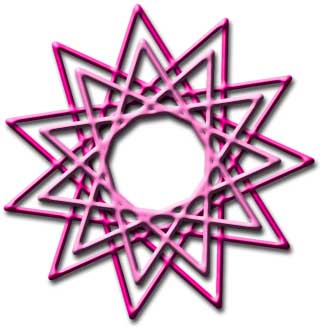
- To the left, I made a second star inside the first. Here's how: Select the path by clicking it with the direct selection tool. Edit -> Free Transform Path. By holding shift and alt as you drag the handle in, you maintain the shape of the star (shift) and keep it centered (alt)! Stroke the smaller star with a different color. Layer effects give it that finishing touch.
|
 |
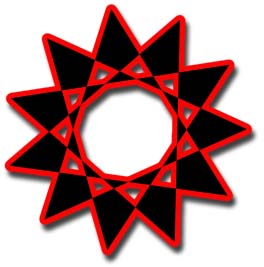
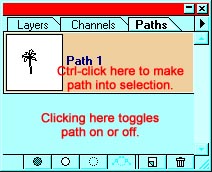
 In the same layer, first stroke your star, then fill it with a different color. As long as this path is in the paths palette, you can always click it back on and change it then stroke or fill or whatever!
|
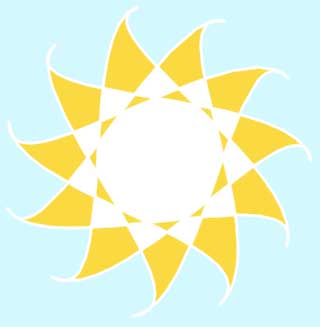
These examples barely scratch the surface of what is possible with stars. Now see what you can do!
|
|
 |
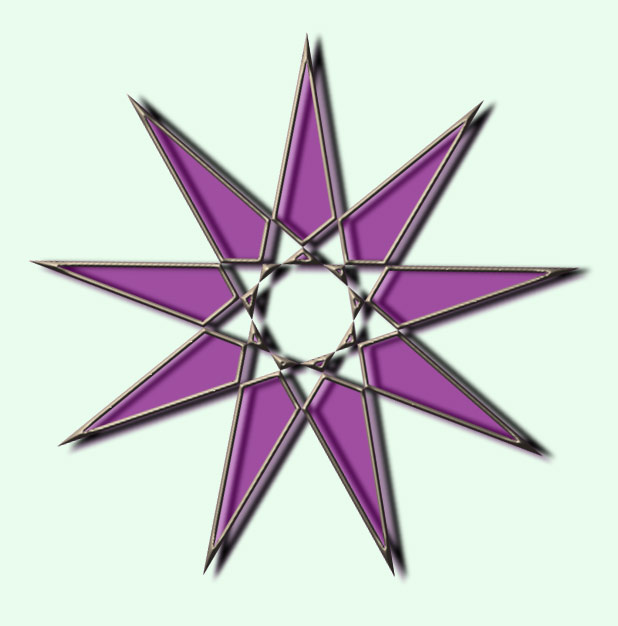
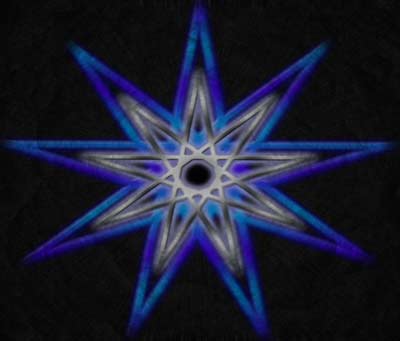
| This drawing had a 9-pointed star as its humble beginnings. |
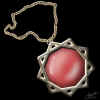 |
| Student work: |
|
 |
|
|
|
|
|
 |
|
|
RETURN to Janee's Tutorial Index
email me!
Ask tutorial questions in the Message Board:

|
|
|
| All material in this site is ©2001-2004 by myJanee.com Graphic Creations. No part of it may be used without my written permission. If you have questions or comments about this site or its construction, contact Janee at myJanee.com Graphic Creations, 7193 W Gifford Rd, Bloomington, Indiana, USA 47403 or by email. |
|
|
|
|