Make your own wood: Walnut
In this tutorial, I will give you directions for making three different types of wood. These represent three different colors and grain-types of wood and so you will use slightly different methods for each. This tutorial was written with version 5.5 of Photoshop, but you can do it with newer versions, or with Photoshop Elements.
Although your result is going to look quite "advanced," this tutorial is quite do-able for even a beginner. Through your work in this tutorial, you will learn how to do the following:
- Make a custom brush.
- Use the noise filter.
- Change the size of an image using transform.
- Use blurring.
- Use the shear filter.
|

|
|
WALNUT
1.
File -> new and make it bigger than you think you need. I like
600x600 pixels.
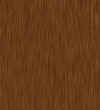
2. Fill this with a dark brown. I used 663300. File -> Save As .. and choose a name for your file.
|
 |
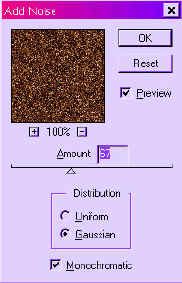
| 3.
Give the wood some texture. Filter -> Noise -> Add Noise .. Use
Monochromatic, Gaussian, and for amount, i used 67 here. |
 |
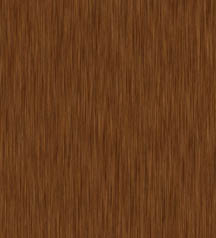
| 4.
Filter -> Blur -> Motion blur. Use 90 degrees and a blur of
about 24 pixels. This is starting to look pretty woody! File
-> Save. |
 |
| 5.
To tighten up the grain a bit, let's concentrate the wood effect.
First, double-click the layer in the palette so that it becomes
"Layer 0" instead of "Background". This is so that
you can do the next step. |
 |
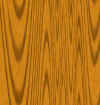
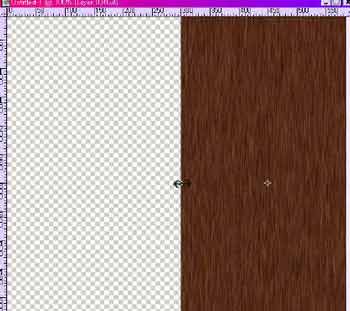
| 6.
Edit -> Free Transform and drag the bounding box from the left side
toward the center, making your board about half the width it was. This
concentrates the woodgrain, making it "tighter", like walnut
grain. |
 |
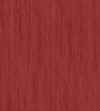
| 7.
If you need the wood to be wider than it is, choose the move tool, the
little 4-way arrow, and then hold alt-ctrl and drag a copy over next
to the original compressed wood. Layer -> Merge Visible. File ->
Save.
Better than nature because weather and insects won't affect this wood!

|
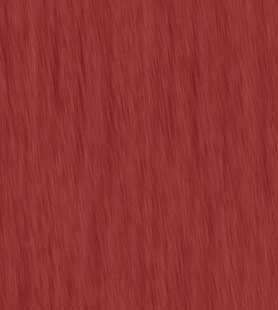
 Cherry wood can be made by varying this walnut. Cherry wood can be made by varying this walnut.
|
|
|
|
|
|
I hope you enjoyed this tutorial!

|
Student Work:

|