
You want to remove a background. Ok! How you approach this job will depend upon your image. This tutorial will show you how to remove a background in the following situations:

A. Subject is hard-edged and contrasted well against simple background

B. Subject is hard-edged and mostly well-contrasted against background

C. Subject is contrasted poorly against the background

D. Subject is complex and background is complex

E. Subject is made of simple curves and straight lines — like a perfectly curved line, a circle, or a feather!
Different problems require different solutions. Your first step in taking out a background is to figure out which method would be best for your own situation. Therefore, “How do I take out a background?” is not an easy question to answer.
I’m going to teach you how to lose the background non-destructively. That is, so that the background will still be there, but just hidden.
With all of these methods, no matter how complex or simple your situation is, we will be making a selection, creating a Layer Mask, and then working with this Layer Mask to make the selection good.
If you’re new to this, fear not! These masks are not the scary Halloween kind; these masks are very useful and not difficult.
- Whichever sort of image you’re working with, begin the project by creating a contrasting background for your picture, and drag it beneath your image layer in the Layers palette. That is the background that you’ll use to test your job of background-removal. This is not a permanent background!

A. Subject is hard-edged and contrasted well against a simple background.
This is probably the easiest sort of circumstance, but there are still multiple ways to approach it. You want to select either the object or the background.
I’ve opted to select the background:
- Choose the Magic Wand
 . In the Options Bar, choose a low Tolerance. It might take some trial-and-error before you can get a perfect selection here. I tried a Tolerance of 2.
 - Turn OFF Contiguous, if the image’s “background” is not all in one piece. In the case of my butterfly, I want those white stripes in the wings to be transparent, so I turn off Contiguous.
- Click the Wand onto your background color.
- Ctrl-Shift-I to inverse your selection.
- Click the Add Layer Mask icon at the bottom of the Layers Palette.

Why not a zero Tolerance? This image is pixel-based. If you zoom in very closely, you’ll see that the pixels around the border are NOT bright primary colors, but are light pastels, to blend in with the white background. This gives us a little challenge when selecting.


Now to see how well we did.
- You should see right away that my example did not do very well with this test. That white border.. Buzz. Not my goal.
- So let’s try something else. Ctrl-Z your way back to just before you applied the Layer Mask. Your selection is still active.
- Select > Modify > Contract. Choose 1 pixel.
- Now add the Layer Mask again.
There are plenty of applications where this would be acceptable, at the right. I still, however have those little corners of lighter pixels. If I need to, I can get rid of those:
- Click the Mask in the Layers palette. Zoom in as much as you need to.
- Choose a one-pixel brush and black, and paint these little pixels away on your canvas.


Get as precise as you need to. If you’re changing to a less severe background (in this case, something closer to white), you don’t have to be so precise!
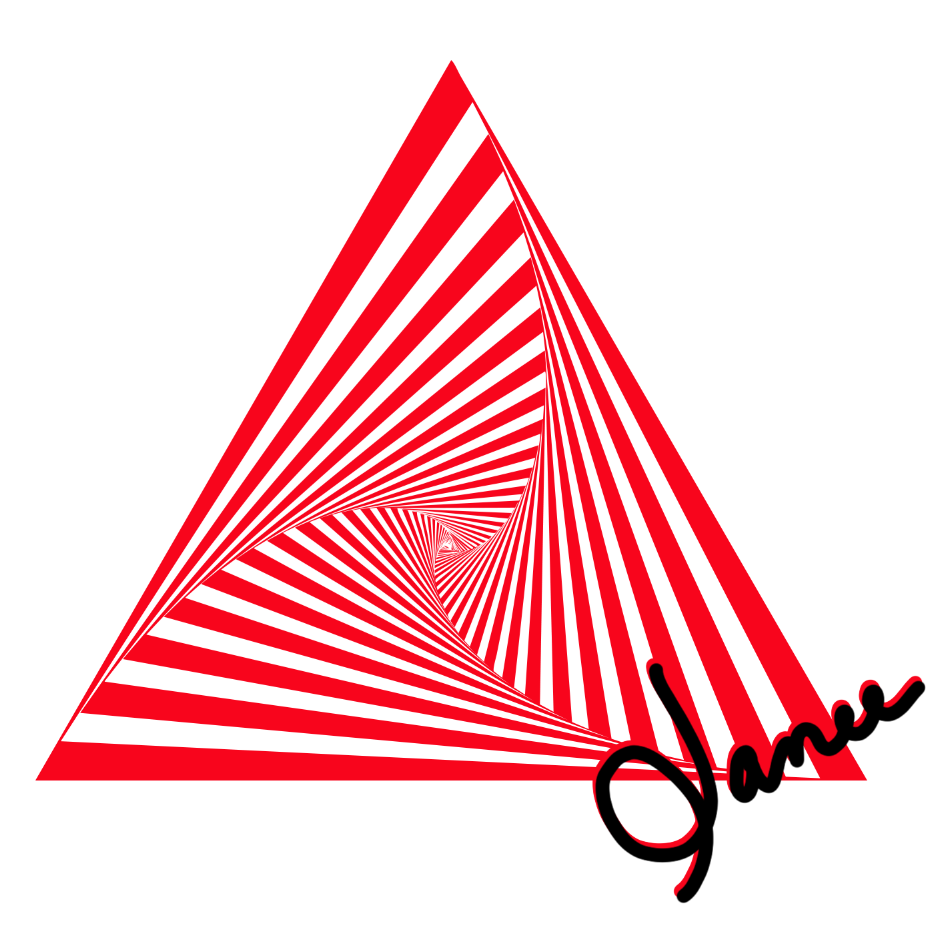
B. Subject is hard-edged and mostly well-contrasted against background
Here, things are getting a little more complicated. The artist has put a signature right ON the image, rendering it unusable. … Unless, that is, we are willing to do some Photoshop work.
- Begin by selecting the white background. Just as above, use a Tolerance of 2 and let’s see how we do. Checking Anti-aliasing helps, too.
- But we still end up with some white. I used the same selection expansion method as above, and touched up the white, because that’s the sort of perfectionist I am.
- But we still have that signature. Because it’s in black against the image’s red, we have to “take it out” just as if it were background.
That is, we have to recreate a background behind where the signature is. In other words, we must repaint the image where the signature was.


- You can select the black in the signature and fill the mask with black to hide it.
- Add a new layer. This is where you’ll be painting away that signature. This kind of work is tedious and can be pretty awful. That’s why this kind of “watermark” is a good way to protect an image.
C. Subject is contrasted poorly against the background
- Try the Select Object tool. I’m liking the Select Object tool
 . I find that it is really good a finding “objects” and almost reads my mind about what I want to select.
But, with this green chalk sidewalk art guy, the Select Object Tool is a fail. It’s just not finding any background there. I get this odd little nothing selection on the right.
So we’re back to more conventional methods.

- Try the Quick Selection tool
 .
. - With this, you paint the selection onto your canvas, and you watch your ants dance in an ever-widening area.
- Once you get something close, click the Add Layer Mask button
 in the Layers palette.


And he’s sort of without his background.
- Grab a brush with black, click that mask, and then paint away anymore background on your canvas.
- Remember that, if you should paint away too much, you can undo by painting with white!
This little fellow deserved a whimsical background!

D. Subject is complex and background is complex
Approach this by trying the simple stuff first. Object Selection tool ![]() ? Why not give it a go?
? Why not give it a go?
And it turned out pretty well! Hit that Add Layer Mask button ![]() .
.


We still have a few problem areas and we’ll need to be careful to keep the integrity of the poodle’s beautiful coat!
Grab your small paintbrush and have a go at this border. Black on the mask will hide more of the image. White on the mask will reveal more.

Tip: I like to use a smudge tool ![]() around the edges of fuzzy subjects.
around the edges of fuzzy subjects.

E. Subject is made of simple curves and straight lines — like a perfectly curved line, a circle, or a feather!
For this sort of background removal, I’m thinking that the cleanest way to lose the background is to select this mathematically pure object with the Pen Tool ![]() .
.
For this feather, you might be tempted to use something else, but nothing else will be as good as a Pen Tool selection. If you need more review of the use of the Pen Tools, I’ll be soon updating my Pen Tool tutorials.
Once you have your object outlined with a Path, convert that Path to a Selection with the button in the Paths palette. then mask out that background, just as you did above.
Alternatively, you could click your path and, go to Layer > Vector Mask > Current Path.
Or you could make a Vector Mask for a whole new layer. That’s what I did below to make the red feather. Once you have that Path, you have many options:


Bonus. Ok, let’s do a simpler example of a mathematically pure object that could be tough to get off its background. For this one, I have this big blue letter J on a background of molten pewter. (To see how to make this molten pewter, see my Hot and Hammered tutorial.)
All of the normal ways of selecting the J do not work. I tried using an Elliptical Marquee to select the bottom part of the J, but it was a fail, because the bottom is flattened out just a wee bit. So.. let’s use the Pen.


Making a Path does a lot. You can tweak it endlessly, you can fill it, make it a Vector Mask or a Clipping Path, or even make it into a Custom Shape, if it’s something you may want to use again.
Creating a Vector Mask from a Path does some more good things for you. First of all, as you saw above, you can not only change the background, but you can change the actual fill of the foreground object.
So there you have it: all of my favorite ways to get rid of a background in Photoshop.
I hope you enjoyed this tutorial! 
