 Wood, Part 2: Make your own Oak!
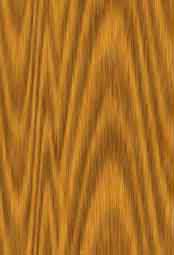
In this tutorial, I will give you directions for making Oak. This tutorial was written with version 5.5 of Photoshop, but you can do it with newer versions, or with Photoshop Elements.
Although your result is going to look quite "advanced," this tutorial is quite do-able for even a beginner. Through your work in this tutorial, you will learn how to do the following:
- Make a custom brush.
- Use the noise filter.
- Change the size of an image using transform.
- Use blurring.
- Use the shear filter.
|

|
| For Oak as with Pine, you will need the brush that you will make in the next step.
Making the brush: When I'm doing woods with these distinct grains, I like to use what I call a "hair" brush. (It is great for doing hair too.) You might be able to find one somewhere but I made mine. Here's how:
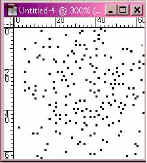
- File > New and make it 64 x 64. Using your zoom tool, enlarge this canvas to 800%. Make the background white and the foreground color black.
- Choose your airbrush tool and your soft brush at size 65 pixels. Set options for your airbrush to Dissolve.
- Click once on your canvas to create a random smattering of dots.
- Erase any dots that are touching other dots. Your goal here is randomness so don't try to get it too even.
- Filter > blur to give your little dots some softness.
- Select -> all and then click on the brush option arrow in the brushes palette and then click Define Brush. (Edit > Define Brush in later versions.) You should see your new "hair" brush at the bottom of your brushes.
|
 |
1. Getting started.
- File -> New .. Make it large. I like 600x600.
- Choose a light yellowed orange for this honeyed oak. I used #D1871F. Use Alt-Backspace to fill the background with this color.
- Click on the New Layer icon to the left of the trash can in the layers palette. This will be the layer on which you will do the grain lines.
- Select a dark brown for the lines. I used #734304.
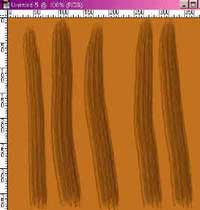
- Using the "hair" brush that you made above, paint on several lines vertically over the canvas
|
 |
2. Shaping the grain.
- Filter > Distort > Shear ... Make sure that wrap around is checked and give it some nice wild waves. Oak, like pine, has a pretty wild grain and so definitely don't strive for uniformity here.
- Edit > Transform > Rotate 90 degrees.
|
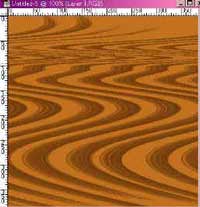 |
- Use your eraser to erase a few of the darker areas from the curves if you want to. Leave some. Again, you don't want uniformity.
- Filter > Blur > Motion Blur with a setting of about 17 pixels at about 82 degrees.
- Layer > Merge down.
3. Refining the grain.
- Filter > Noise -> Add noise... Monochromatic .. about 50.
- Filter > Blur > Motion blur... about 17 pixels again, but this time at a 90 degree angle.
|
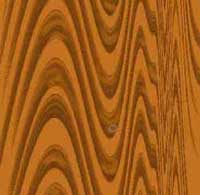 |
- Compress the wood if you need to. First double click the layer in the layers palette to make it into a regular layer. Then use Edit > Free Transform and drag it narrower.
|
 |
|
|
|
|
|
I hope you enjoyed this tutorial!

|
Student Work:
 
|