Photo Composition Photo Composition
In this tutorial, you will combine two (or more) photos to make a composition. Whether you are putting your head on Arnold Schwartznegger's body or doing a little meteorological project as I will here, you can use these methods. This is essentially good practice with the use of layer masks. You will also practice these techniques:
- Making a selection.
- Moving an object to another file.
- Resizing an object.
- Adjusting levels on a layer.
- Using a layer mask.
- Painting on a layer mask.
|

I used Photoshop 6 for this tutorial, but earlier versions which support layers and layer masks will work too.
This tutorial might be a little difficult for a rank beginner, but if you follow closely you can do it!
|
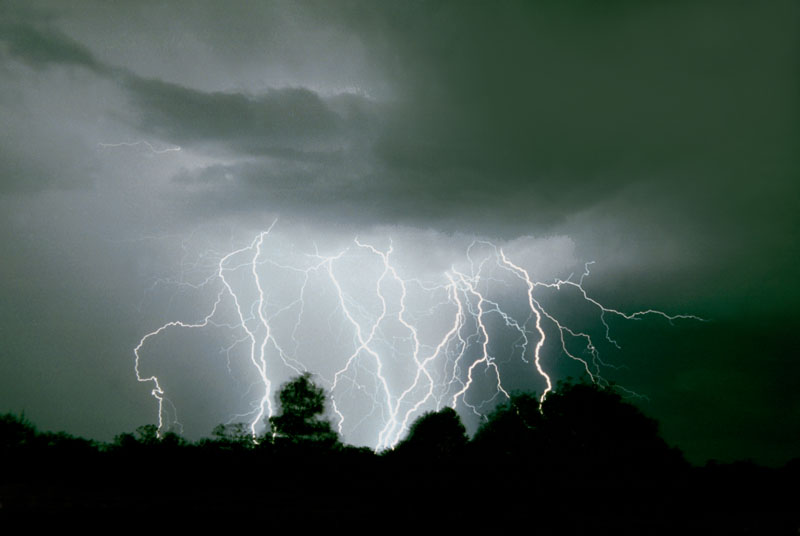
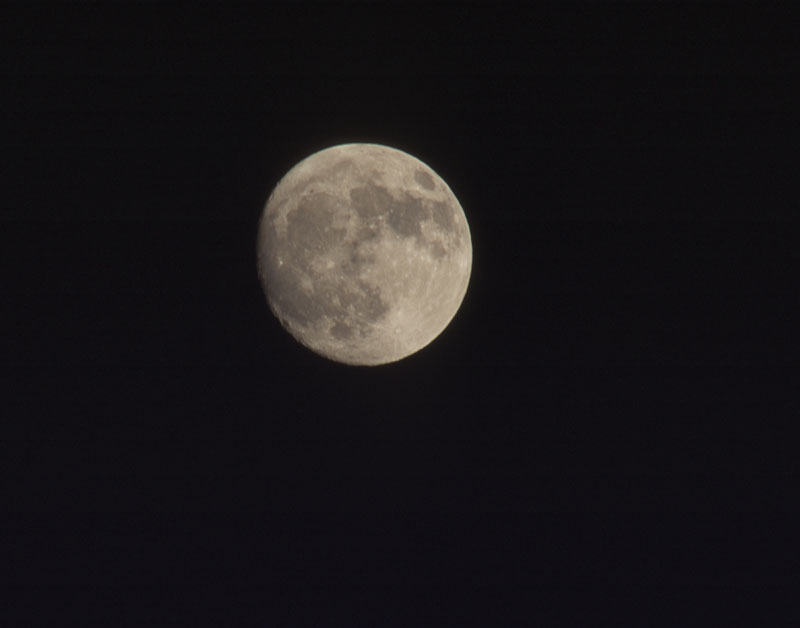
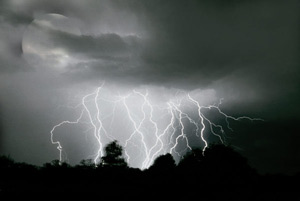
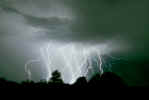
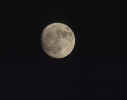
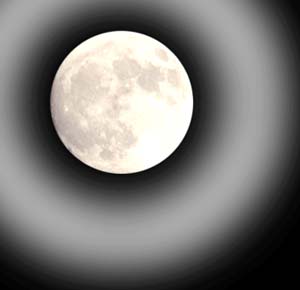
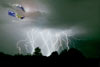
| 1. File -> Open.. and open your files of the pictures that you want to use. I am using a moon* which I will put into a thunderstorm photo*. If you want to make my effect or use these photos*, click on the small ones to go to the bigger ones and then opposite click the big one, choosing "Save As.." Be sure to remember where you put it. ;) |
|
| 2. Plan what you are going to do in a loose way.
For example, this is what I am going to do:
- Cut out the moon (subject).
- Put the moon in the lightning picture (target).
- Make the clouds and moon look right together.
These are pretty basic steps that will apply no matter what you are putting together.
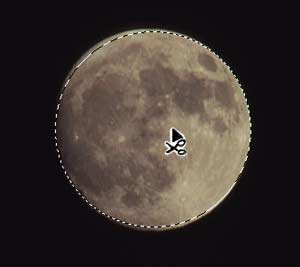
3. Cut out your subject. If you are very sure that you are not going to need any of the background from your source photo, you can make a selection of your subject and then drag it. That is what I will do with the moon.
a. Make your selection using whatever selection tools you find appropriate. For the moon, try this. Choose the Elliptical Marquee tool. Hold the pointer in the approximate center of the moon. Hold Shift-Alt and drag. Shift constrains your selection to a "perfect" ellipse, that is, a circle. Holding Alt makes the selection come out from its center.
b. Click Select -> Feather and make sure that it is at its minimum feather value, that is 0.2. You might want to experiment with larger feather values too. Depending upon your subject and target photos and the effect you want, you can sometimes enhance the "reality" by feathering the selection.
c. Choose the Move tool and when you hold it over your selection, your pointer will have scissors next to it, as you see to the right. That means you are cutting that selection out of the picture!
|
 |
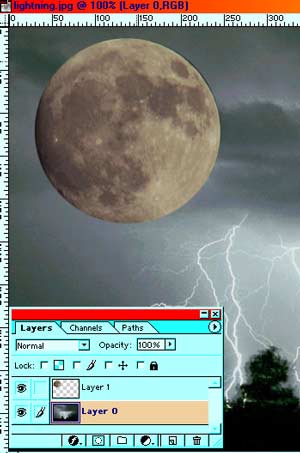
| 4. Drag your subject onto your target picture.
We will be manipulating the lightning layer as a regular layer, so double-click it in the layers palette to make it a regular layer, as I have done to the left.
5. Time to save. You do NOT want to just do File -> Save. Why not?
Click File -> Save As... and give your new composited photo a new name.
6. Assess the situation. As it is, everything about this picture is ridiculous. The moon is too big. There are clouds behind the moon, and the lighting/coloring seems really wrong. Let's fix it.
Reduce the size of the moon by clicking on its layer in the layer palette to select it and then Edit -> Free Transform. Hold the shift key to keep the moon round and drag one of the corner handles.
|
 |
| 7. To my eyes, we need to have a black or dark sky behind the moon. Either that or we need a white halo around it as it peeks through the clouds. In either case, we need to have the moon BEHIND the clouds and have breaks in the clouds.
Make a black background in case some of it shows through. Click the new layer icon in the bottom of the layers palette. Make your foreground color black and then alt-backspace to fill the new layer with black. Drag it beneath the other two layers in the layers palette.
|
8. To bring the moon behind the clouds, drag its layer beneath the lightning layer in the layers palette.
Ctrl-s to save.
To make the moon partly visible, it might be tempting to erase parts of the clouds, especially if you are not familiar with layer masks. RESIST!
Go on to step 9 instead:
|
|
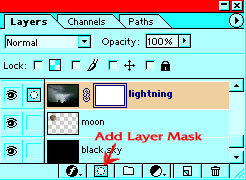
9. Click on the lightning layer in the layers palette and then click the Add Layer Mask button at the bottom of the layers palette. It is the little white circle inside the rectangle.
Notice how the layer mask appears next to the lightning layer in the layers palette as filled with white. Parts of the mask that are white make the layer visible. When you paint the mask black, you make those parts of the layer invisible, allowing the underneath layer to show through! Cool stuff!
|
 |
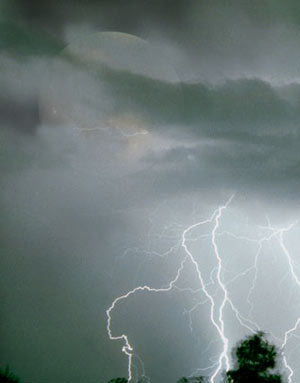
| 10. Now to make the moon peek through. Click the mask in the layers palette and choose a black wide feathered airbrush.
Use a light touch to paint over where the moon is. You will see it peeking out and the black sky behind it, too! Don't worry about messing this part up at all. You are only painting on your layer mask here, so painting it white again will put you back where you were! Experiment till you like the way this is blended.
Ctrl-s to save.
|
 |
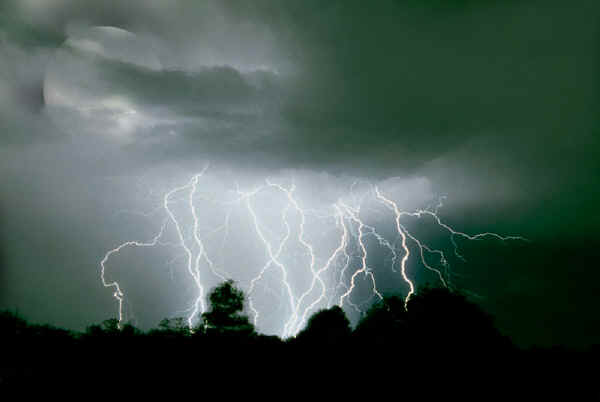
| 11. I'm still not happy with the lighting here. I want the moon itself to be brighter and to form something of a halo onto the clouds.
To accomplish this effect, I made a new layer and positioned it just above the moon layer in the layers palette. Then I made a circle larger than the moon (using the elliptical marquee with shift and then Edit -> Stroke... 20 pixels), blurred it, and then duplicated that layer three times.
12. On the moon layer, I did Image -> Adjust -> Levels.. and pulled the right two sliders toward the left to brighten. Here is the moon and its halo look like with the lightning layer hidden.
Ctrl-s to save.
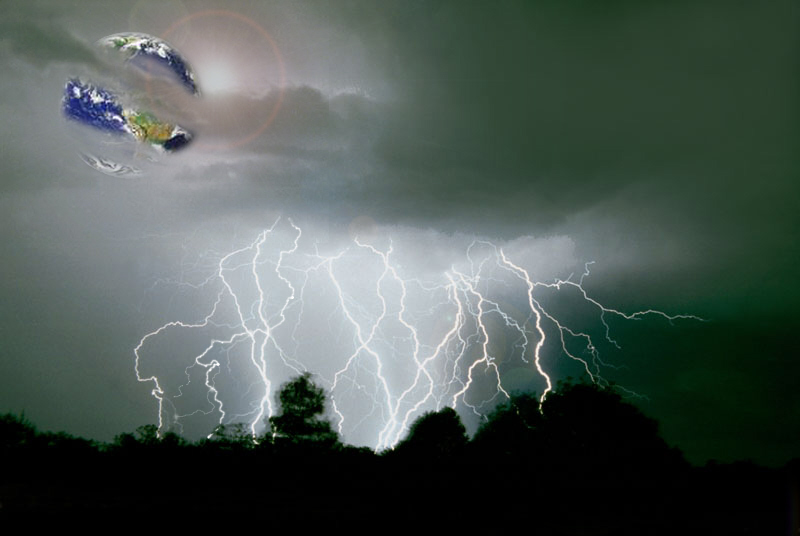
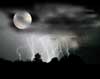
And below is the finished picture with the halo added.
|
 |
|
|
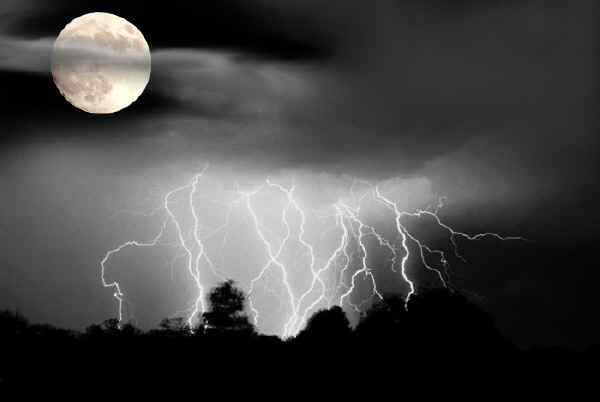
| 13. I like this picture better without so much of a green cast, so here it is with Image -> Adjust -> Hue/Saturation .. and the saturation slider pulled leftward. |
jj |
|
|
| Another version I did. |
jj |
|
|
|
I hope you enjoyed this tutorial.
I welcome your feedback!

|
* The photos used for this example are ©2000 by Ken Moreash and are used here by permission. You may use these photos for this tutorial.j
(I took this as a challenge from the artist/ photographer who took these photos. I look forward to seeing your ideas of things you can do with this. Send me your rendition if you want, and I'll post some on this page.)
|
|
 |
|
 |
|
|
Tim Wilder |
|
Tom Peek (Those are his wife's eyes!) |
|
|