 Over
the Rainbow Over
the Rainbow
In this fun tutorial you will learn to make a rainbow. Along the way, you will learn some very useful techniques:
- Make your own custom gradient using varying colors and opacities.
- Use layer opacity.
- Use a Radial Gradient.
|

|
| 1. File
-> New .. and make your canvas big. I will use 700px square. Be sure you are in RGB mode.
2. Make a new layer. (Always do everything on a new layer. Doing stuff on the background layer ... well... it leaves you without much flexibility. After you forget to make a new layer a few times and have to delete the bg... you will believe me!)
3. Choose the Gradient tool from your toolbox. Now have a look at the Gradient Options.
|
 |
|
3. Click the gradient itself in the options palette to get the Gradient Editor. Your Gradient Editor will look like mine to the right.
At this point, it is easiest to edit an existing gradient. Choose one that is the most like the one you are hoping to make. I chose this spectrum.
Now.. the stops at the bottom have colors and so they are the Color stops.
- To add a stop, click where you want the new one.
- To remove a stop, drag it out of the dialog box.
|
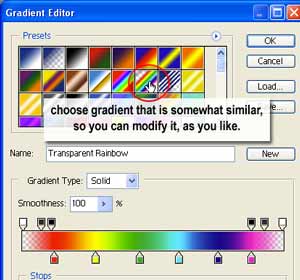 |
- To change a stop's color, click the stop and then click the color box which shows up below. I made the blue a bit lighter.
4. The stops along the top of the gradient bar are the Opacity stops.
- If you click one of them, you will see the Opacity box appear below. Adjust this as you wish.
- Having the white 0% opacitiy stops makes the gradient fade to transparency at the edges. This is what I want it to do.
- I didn't need the fade to be as measured as they have it in the premade gradient, though, so I removed the 80% opacity black stops, by dragging them off the box.
|
 |
| 5. Adjust the color and opacity stops in this way till you like the appearance of your rainbow. Scoot the gradient over to the right as i have done here. (This allows you some space in the "center" of your rainbow, so that it won't be a tight circle.) |
 |
- If you want a more transparent rainbow, you can make your center stops less opaque as I have done to the right.
|
 |
- The Location % enables you to be very precise in evening up your gradient.
9. Click OK.
- In the Gradient Options, if you've done your gradient as i have, uncheck Reverse.
- Then be sure that Transparency is checked so that the transparent parts of your gradient will, indeed, be transparent.
|
|
|
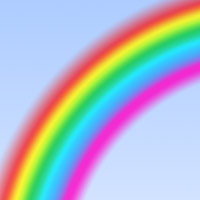
| 10. Time to test it out! You should already have a new layer on which to work. Choose the Radial Gradient tool from underneath the Linear Gradient tool in your toolbox.
11. Starting at a lower corner or the bottom edge of your canvas, drag your gradient.
12. Adjust the opacity of your rainbow if you like, by changing the opacity of that layer in your layers palette.
See what fun you can have with this!
|
 |
|
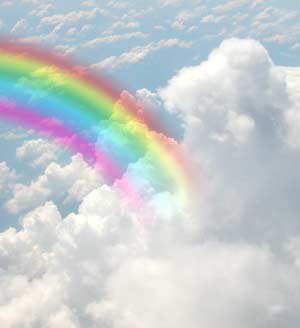
For this example on the right, I used a layer mask over the rainbow layer to make the rainbow seem to fade into the clouds.
|
|
|
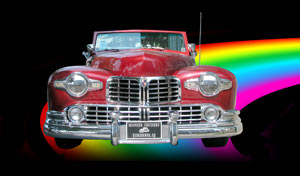
For the Lincoln, I used a distortion transformation on the rainbow layer.
|
 |
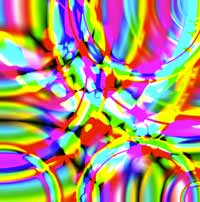
| Here, I made many rainbow gradient circles, changing the Mode in the Gradient Options after every 2 or three strokes. |
 |
